|
|
|
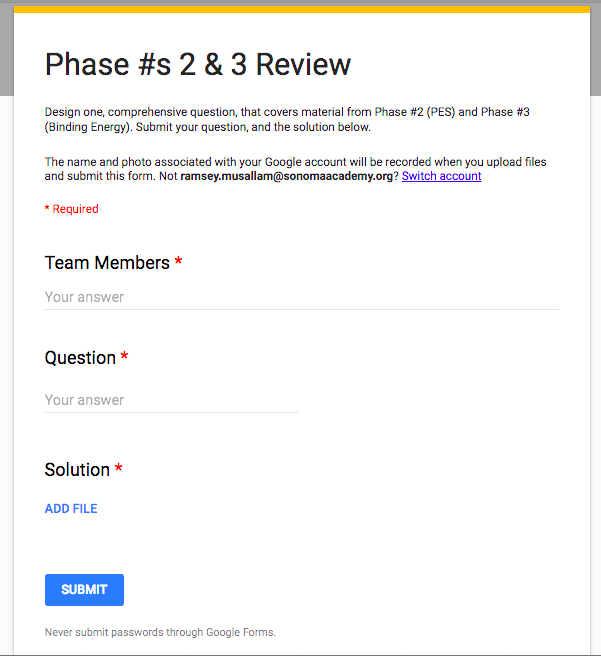
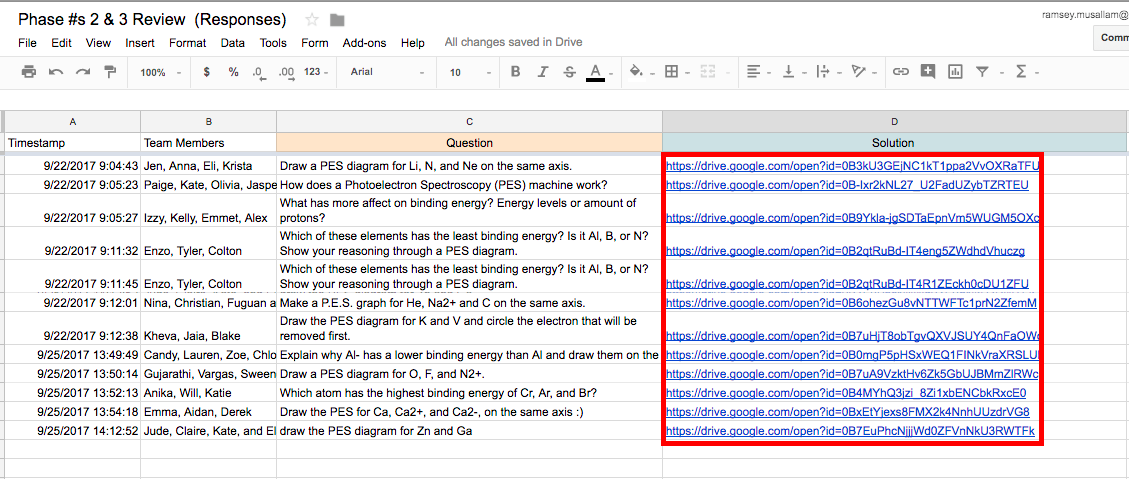
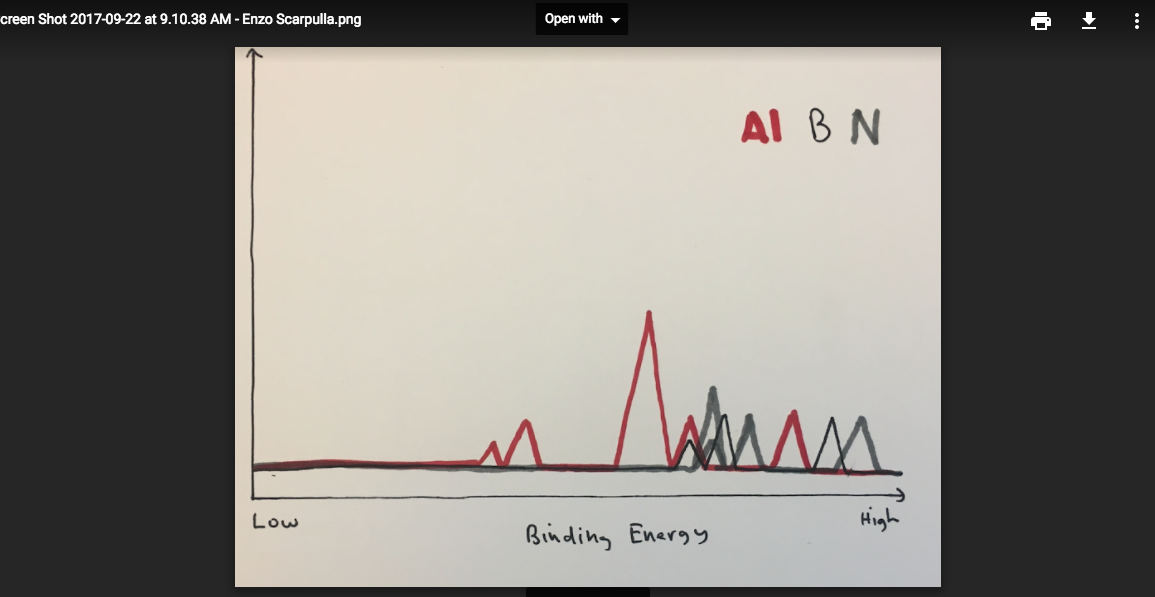
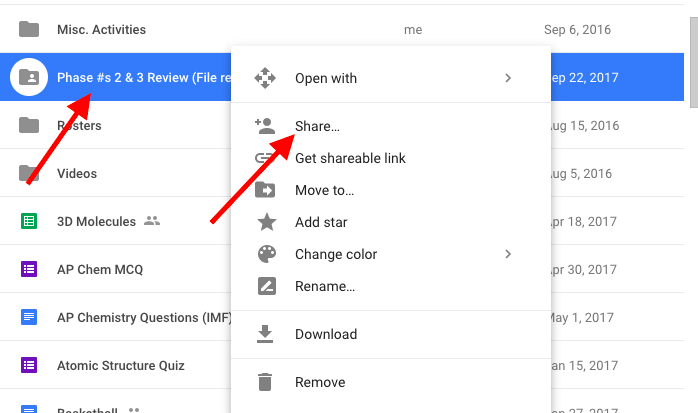
Last year a new feature was added to Google Forms which allows users to submit a file (picture, video, document, etc.) when completing a form. Today in class I leveraged this feature to facilitate the curation of a student generated study guide for an upcoming chemistry assessment. Because chemistry assessments usually involve the production of a handwritten graph, diagram or chemical structure, I had students submit a question in text, then upload a written answer using the file upload feature. Click here to see the live form. Below is a screenshot of the form. When all groups completed their question and answer an associated, organized spreadsheet was created that, when made available to students, contains a question and link to a clear, handwritten answer from each group. Students used their phones to capture the image, and either accessed the form directly from their phone and uploaded via the photo library, or emailed the image to their computer to be uploaded. Click here to see the live form. Below is a screenshot of the form and a submitted picture. If you are planning on implementing this, or a similar activity, please play close attention to the sharing settings in the folder that collects uploaded documents. If you do not adjust the settings to "public" in the folder (that is automatically created when you publish a form with a file upload feature) students will not be able to access the links generated that point to this folder. In the case of the activity described, the ability to access the files is necessary for students to view the document. Additionally, the "file upload" feature does not work unless the user submitting the form is part of the same domain.
Last week, in an effort to keep both my sections of Honors Chemistry moving at the same pace, I found myself with a day to spare in one section. With a unit on lab techniques, specifically titration, quickly approaching, my thought was to pre train this section on the specifics of the laboratory procedure.
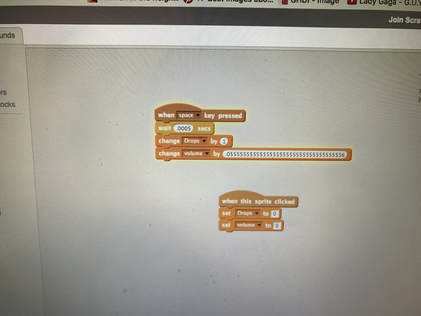
Simultaneously, a more playful side of me wanted to bust out the MakeyMakeys from summer science camp and give students some time to explore conductivity, and tinker around a bit repurposing everyday materials to build something just for fun. Then it hit me: Why couldn't we do both? Back to titration. Digital Drop Counters used to measure the precise volume titrant added to a flask are nearly $100 with the need for more complex software companions for reading data. This it hit me: Could we recreate a Drop Counter using MakeyMakey (along with the pH probes we already have) to simulate the tools we needed for a successful titration? Yes. Sort of! But super fun. With the help of a few students we devised a simple workflow: First, students wrote a simple program using Scratch that counted clicks when the space bar was pressed. Then, using some fancy graduated cylinder action measured the approximate volume of 1 drop from our Burets, and added a variable to their program that also counted the volume (in mL) of liquid added along with drop number.
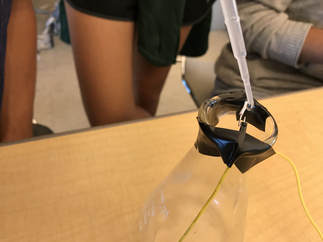
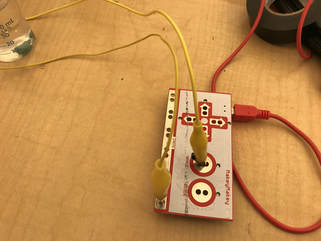
Then for the MakeyMakey! By positioning two wires (one connected to ground and the other to the space button on the MakeyMakey) above the Erlenmyer flask with just enough room for a single drop to complete the circuit, and adding some code to delay the click function for any drops that "stick" to the wires, we were able to accurately measure drops added! Finally something more than a video game controller or banana piano!
|
Categories
All
Archives
March 2024
|
 RSS Feed