|
|
|
In our Design for Social Good class, students were given a final project challenge: to apply their CAD, electronics, and Robotics skills to simulate robotics' applications in military and law enforcement. Our specific task was to create a user-friendly CAD-designed controller housing an Arduino Leonardo. This controller could remotely operate a robot, simulating the disarmament of a hypothetical explosive. Students controlled their robots from a different location by using their phones as cameras, which were mounted on the robots. They streamed video to their control station through platforms like Zoom or FaceTime. To understand the project instructions and grading criteria, click here. For documentation, students recorded their streamed video and added voice-over narration to explain the process. Below is an example:
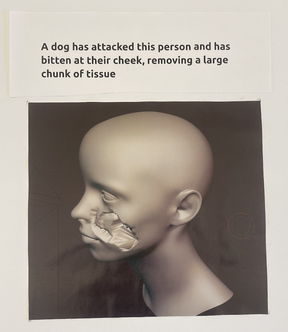
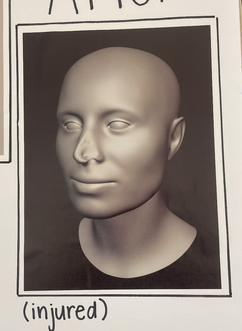
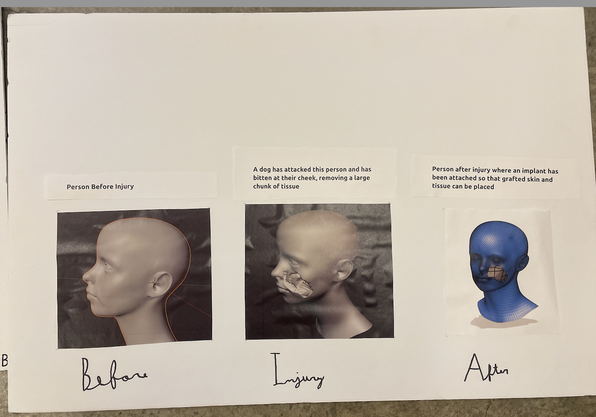
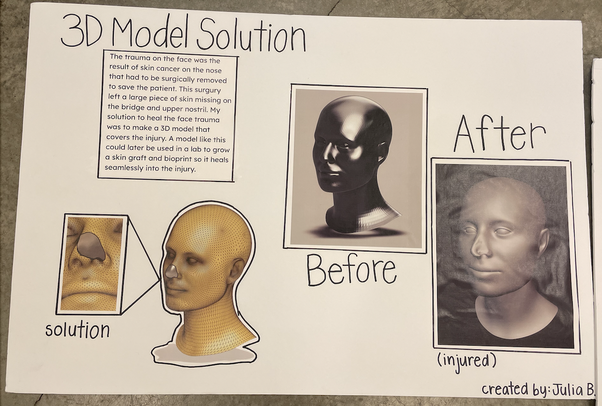
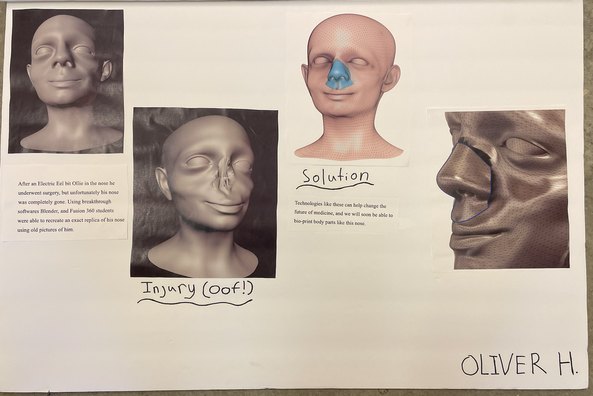
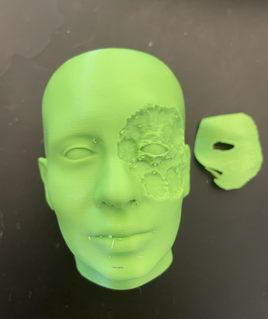
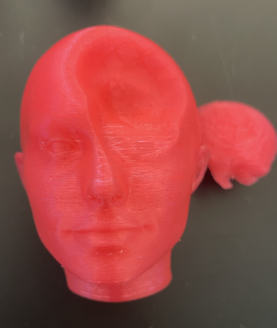
Last month a parent of one of my engineering students came to speak about his time spent as an Ear, Nose, and Throat (ENT) surgeon, working primarily with bear mauling victims in Alaska. As part of his presentation, the speaker discussed how his team would use 3D model reconstructions from images of the patients prior to the attack to fabricate custom braces to support broken facial bones and tissue in a customized fashion. Click here to read an interesting article on the current state of this intervention. 3D modeling has been a huge theme in our class this year (click here for CAD assignments and student artifacts) and keeping this in mind, students were immediately drawn to the use of Computer Aided Design (CAD) in solving such meaningful problems. Inspired by the presentation, I decided to scrap our current unit and attempt to design a way for our students to simulate the process described by our speaker. With a little research, and some late nights tinkering with Fusion360 and Blender, I put together a lesson that went really well. The instructional design process I created, along with links and examples, is outlined below. Step 1: Students downloaded and learned how to use the FaceBuilder add-on in Blender which allows for the reconstruction of 3D model of a face given images. This is essential keeping in mind the triage nature of the injuries addressed using this technology. That is, previous scans may not be available and accurate reconstruction from past images is needed. See instructional video below. Step 2: Students then hypothesized an injury to the face (e.g., dog bite, removal of cancerous lesion, etc.) and recreated that injury using various sculpting tools in Blender. See image of a few student examples below. Step 3: Students exported Blender models with hypothetical injury as STL files and important the files into Fusion 360. Once in Fusion 360, students. created and extruded surfaces to serve as. customized replacements for regions where injury occurred. These customized surfaces could potentially serve as graft templates, bone reinforcement, etc. See a few images below. Click here for a surfacing tutorial. Step 4: Students 3D printed face (with injury) and associated customized solutions to in the injury. Student circulated and tested compatibility of solution with injury and suggested revisions. Students then presented their simulated process and products to our initial guest speaker for feedback and viability discussion. See a few images of prints below:
|
Categories
All
Archives
March 2024
|
 RSS Feed