|
|
|
1. Use a Learning Cycle Template. (click here for an example) Lesson planning can be an empowering, but also arduous process. New teachers often fall into the trap (as did I) of lesson planning day by day, often losing site of the lesson's big picture. In my recent book, Spark Learning: 3 Keys to Empowering the Power of Student Curiosity, I note the serendipitous connection between the 5E Inquiry Learning Cycle, and then traditional cycle of the Hero's Journey as outlined by Joseph Campbell. The above template, designed with the 5E/Hero's Journey connection in mind, can help streamline and empower the lesson design process by providing a more holistic approach, empowering us to lesson plan in chunks, with a focus on student curiosity, and leveraging lecture as a responsive, rather than directive tool. The template also provides a structured space to outline necessary tech interventions at each step, promoting pedagogy, before technology. 2. Leverage a Google Slide Template to Collect Student Work (click here for an example). As a science teacher, collecting, curating and grading student work during and after various class activities (labs, projects, etc.) can be a complicated process. Over the years I have tinkered with using paper notebooks, type written lab reports and a myriad of tech interventions to empower this process (Evernote, Google Docs, Google Science Journal, etc) . Each method has had its benefits and drawbacks, ultimately simplifying some steps in the process, but overcomplicating others for students. Although not as aesthetically appealing or as "innovative" on first glance, Google Slides allows for easy text editing, photo inclusion, table production, and video embedding, four features that are essential to student documentation of work. Moreover, upon conclusion of the year, students can then embed each presentation in a Google Site, creating a very simple, self-curated portfolio of work. 3. Teach from a Website (click here for an "in progress" example). Much like the the collection of student work noted above, many different options for structuring how the information is presented to students in class exists. I have tinkered with teaching from slide decks (PowerPoint, Keynote, Google Slides, etc.), printing handouts (my least favorite), and the every popular, "just winging it", method that I embraced for my entire first year of teaching. As is evident from this blog post, I value simplifying the process for myself and students. Keeping this mind, I have transitioned to a system where unit plans are transported from my template (see #1 above), to a website. By using a website for class "presentation", teaching can be done using any device with internet access, and in a one-to-one environment Google Documents can be linked with various tasks and information, but sharing permissions can be altered to promote the gradual release of content that inquiry learning values. If you found the information in this blog post useful to your practice, I invite you to learn more about becoming a site member! Launching on July 15th, site subscription include, but is not limited to, monthly distributions of detailed online video courses, lesson plans, and access to video webinars all exploring the world of curiosity, inquiry and technology in the classroom.
Not a new idea at all, but I am always blown away by how productive class is when I assign a writing assignment and spend the class editing and providing feedback to all docs simultaneously. Today I pushed out this template, and groups of students relocated to a myriad of places on campus to complete their formal research article according to the template. I sat at my desk and provided feedback. Super fun. Super simple. Super meaningful. Below is a short video of the process. #embracethemess
Inserting a picture directly from the webcam of your computer into a Google Document is a, IMO, freaking powerfully simple strategy in the classroom. It was gone, but NOW IT'S BACK! YES! This feature embodies the kind of classroom technology I love: simple, efficient, and purposeful. Below are just a few of the many ways I have used this technique in my classroom:
Because I am completely obsessed with the revising my curriculum each year, I have always struggled with meaningfully integrated a textbook. Past integration efforts (homework, reading, classroom sets, etc.) represents moves I am ashamed of and weak spots in my pedagogy. My efforts weren't wrong per se, but I never invested the time, until now (I hope) over the past 17 years of teaching to critically think about how to integrate a text in meaningful, thoughtful ways. All attempts, to be completely honest, have been out of a fear of not being taken seriously by parents or students. Or, since we are on that topic, take seriously by myself (#impostercomplex). Below is what I plan on doing this year:
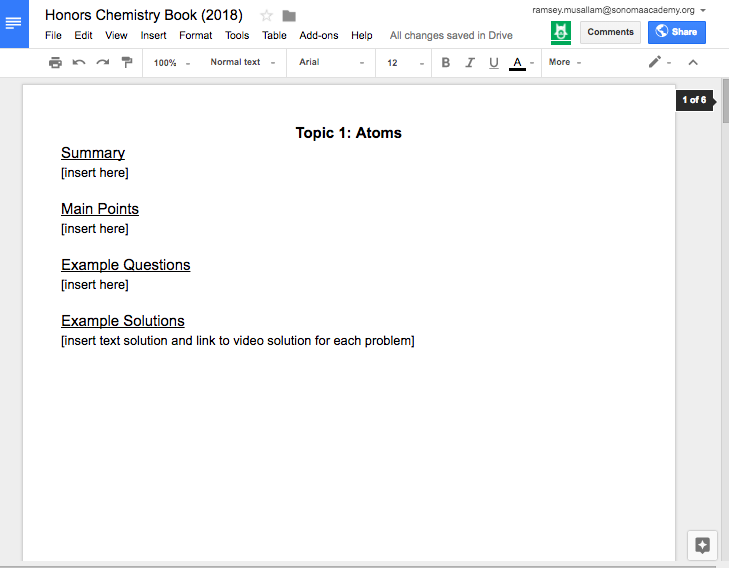
Click here to access the template.
Last week, in an effort to keep both my sections of Honors Chemistry moving at the same pace, I found myself with a day to spare in one section. With a unit on lab techniques, specifically titration, quickly approaching, my thought was to pre train this section on the specifics of the laboratory procedure.
Simultaneously, a more playful side of me wanted to bust out the MakeyMakeys from summer science camp and give students some time to explore conductivity, and tinker around a bit repurposing everyday materials to build something just for fun. Then it hit me: Why couldn't we do both? Back to titration. Digital Drop Counters used to measure the precise volume titrant added to a flask are nearly $100 with the need for more complex software companions for reading data. This it hit me: Could we recreate a Drop Counter using MakeyMakey (along with the pH probes we already have) to simulate the tools we needed for a successful titration? Yes. Sort of! But super fun. With the help of a few students we devised a simple workflow: First, students wrote a simple program using Scratch that counted clicks when the space bar was pressed. Then, using some fancy graduated cylinder action measured the approximate volume of 1 drop from our Burets, and added a variable to their program that also counted the volume (in mL) of liquid added along with drop number. 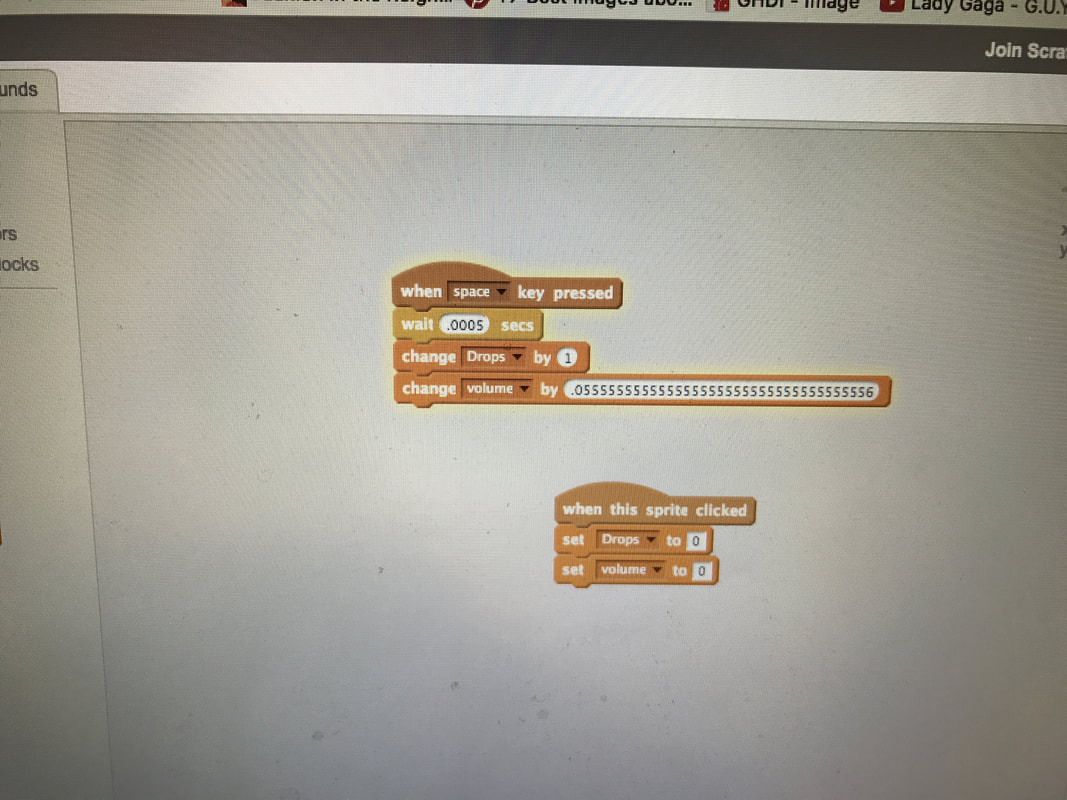
Then for the MakeyMakey! By positioning two wires (one connected to ground and the other to the space button on the MakeyMakey) above the Erlenmyer flask with just enough room for a single drop to complete the circuit, and adding some code to delay the click function for any drops that "stick" to the wires, we were able to accurately measure drops added! Finally something more than a video game controller or banana piano!
|
Ramsey Musallam is a full-time science teacher in Santa Rosa California.
Categories
All
Archives
March 2024
|


 RSS Feed