|
|
|
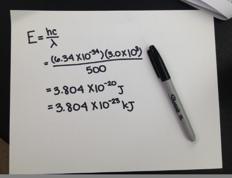
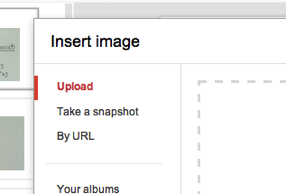
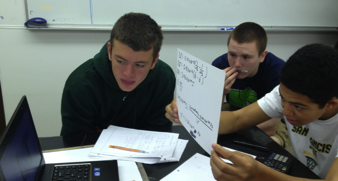
As a science instructor, I find myself spending a lot of time debating, creating and reflecting on the “explore” phase of the learning cycle. Naturally, “hooking” students, building perplexity, and guiding students toward a collaborative learning objective, IMO, requires much more instructional skill than the “explain” (flip if you so choose) or “apply” phase…or at least so I thought. While the explain phase has continued to be the least emphasized part of the cycle (3-5 minute lower end Blooms delivery), I have not done a good job moving beyond the “drill and kill” tendency of the application phase of the learning cycle. While in theory, the “apply” phase calls for much more than practice, in chemistry in particular, for me, there is a tendency to get stuck in a “study hall” like environment as students struggle through problems in class. To try and bridge the gap between practice, and also promoting extension and critical investigation of problems, I did a version of Kelly Oshea’s Mistake Game. Students were given a problem, and were asked to solve that problem, but plant one common mistake, as if they are writing multiple choice item distractors. Students then viewed one another’s problems, and qualitatively identified their mistakes. I enjoyed how this activity seemed to quench the students need to practice problems, however it also forced students to reverse their role, and step into the shoes of the test writer. Not a true “extension” of their knowledge to the real world, but this activity successfully forced students to assess problems through a different lens. To accomplish this, I harnessed the “snapshot” tool in google docs (thanks to @followmolly for this tip at ISTE) to create a fluid jig saw where students created their “mistakes” and then shared them with others. Below is an outline of the process: 1. Create google presentation with one slide for each group and make the presentation public and editable by all. 2. In the presenter notes section of each slide, write unique question for each group. 3. Instruct each group to solve that question on a white sheet of paper, using a sharpie and planted one mistake. See below: 4. Using the snapshot tool, instruct each group to insert picture into the slide. See below: 5. Groups then observe one another’s slides and identified the mistake made. 6. Upon conclusion of activity, facilitate a class discussion where groups discuss the most appropriate mistake. See an example of the complete slide deck here: Comments are closed.
|
Categories
All
Archives
March 2024
|


 RSS Feed